


Remote Desktop Protocol (RDP) creates virtual GPU and audio devices to redirect images from your local computer’s camera and audio from its microphone to the Virtual Private Server (VPS). Once the RDP connection is established and OBS (Open Broadcaster Software) is launched, OBS detects and utilizes these virtual GPU and audio devices to record and stream, ensuring smooth functionality. However, when you disconnect from the RDP session, Windows Server removes these virtual devices as part of its garbage collection management process. With the RDP connection closed, the virtual GPU and audio devices are deemed unnecessary and are consequently removed from memory. This removal causes OBS to stop, as it relies on these virtual devices to continue its recording and streaming tasks.
To prevent OBS from stopping during live streaming, you will need to set up TightVNC. Unlike RDP, TightVNC doesn’t rely on any Windows graphics rendering software or hardware. Instead, TightVNC independently captures and transmits screen images and input commands between a local and remote computer.
The TightVNC Server on the remote computer captures any screen changes and compresses the data. This compressed data, along with input commands, is then sent over the network to the TightVNC Viewer on the local computer. The viewer decompresses the data and displays the remote desktop, while also sending local input commands back to the server. This setup allows for seamless remote control of the computer, ensuring that OBS continues to function smoothly even after the RDP connection is closed.
Setting up TightVNC on the Server
1
Download TightVNC: Get TightVNC from their official website.
2
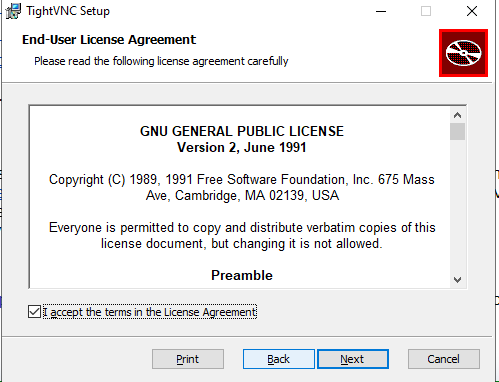
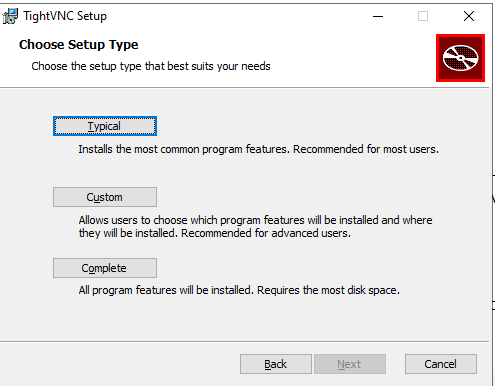
Install TightVNC: Follow the setup wizard. When prompted, select Complete as the setup type.
3
Continue Installation: Keep clicking Next until you reach the Install button, then click it.
4
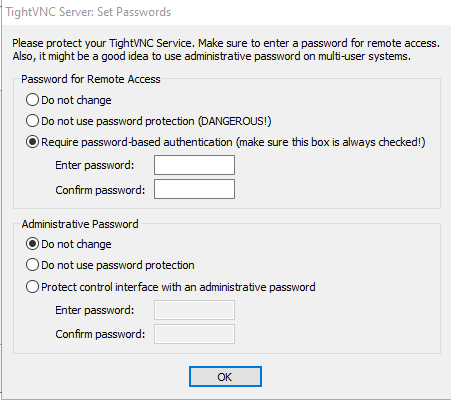
Set Password: After installation, you’ll be prompted to set a password for the TightVNC server. Set your password and click OK .
5
Finish Setup: Click the Finish button to complete the installation.
6
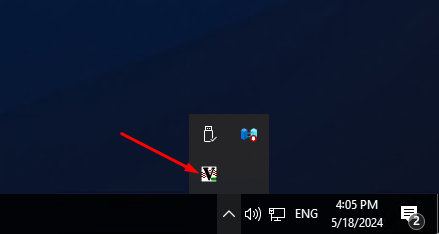
Verify Running Status: Click the up arrow at the bottom right corner of your RDP window, next to the speaker icon, to ensure TightVNC is running.
Setting up RealVNC Viewer on your local computer
1
Download RealVNC Viewer: Get RealVNC Viewer from their official website.
2
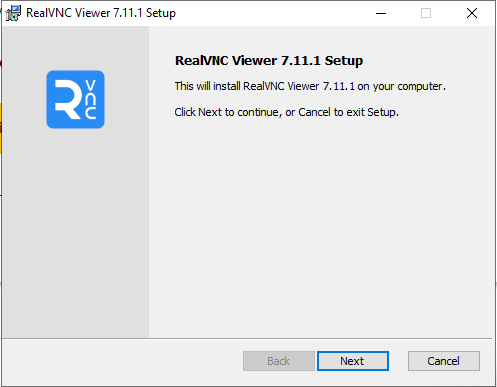
Install RealVNC Viewer: Follow the setup wizard and click the Install button.
3
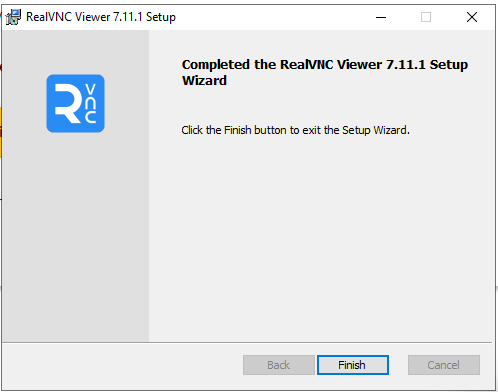
Complete Installation: Click the Finish button to exit the setup.
4
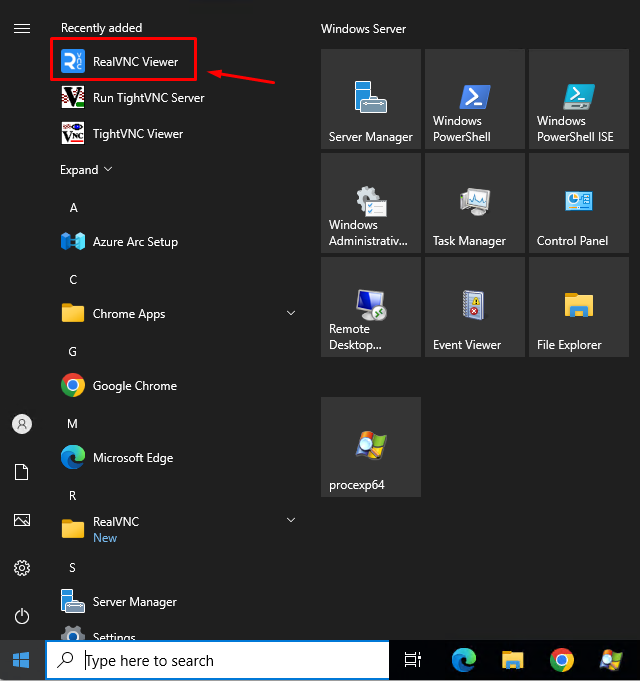
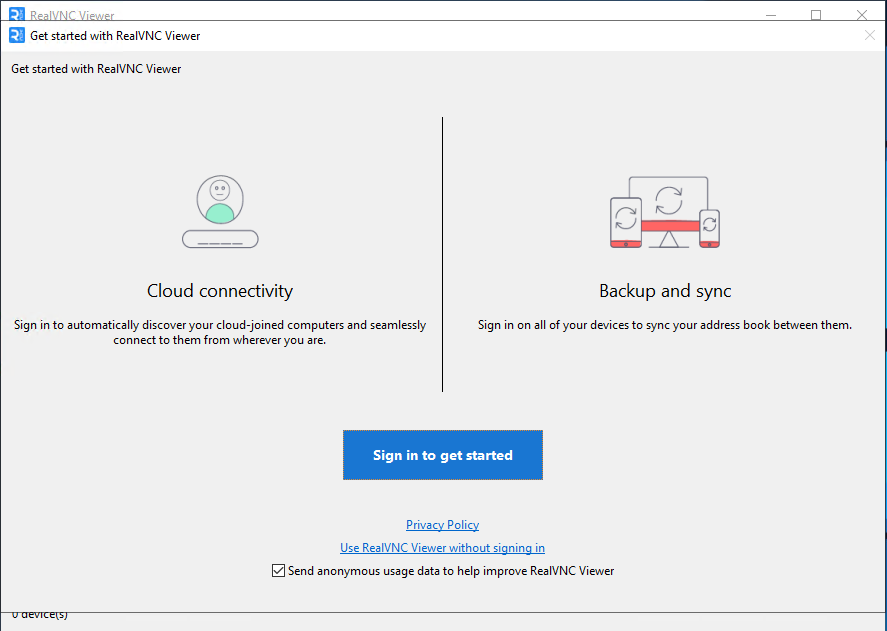
Launch RealVNC Viewer: Click the Windows start button and find RealVNC Viewer under Recently added. Click to run it.
5
Initial Setup: On the initial screen, uncheck Send anonymous usage data to help improve RealVNC Viewer. Then click Use RealVNC Viewer Without signing in.
6
Connect to Server: At the top, in the bar labeled Enter a VNC server address or search, enter your VPS IP address followed by a colon and the port number (default is 5900). For example: 192.168.1.1:5900.

7
Connect: Press the Enter key on your keyboard to connect.
Setting up OBS is a step-by-step process:
1
Connect via RDP: Log in to your server using Remote Desktop Protocol (RDP) and set up OBS.
2
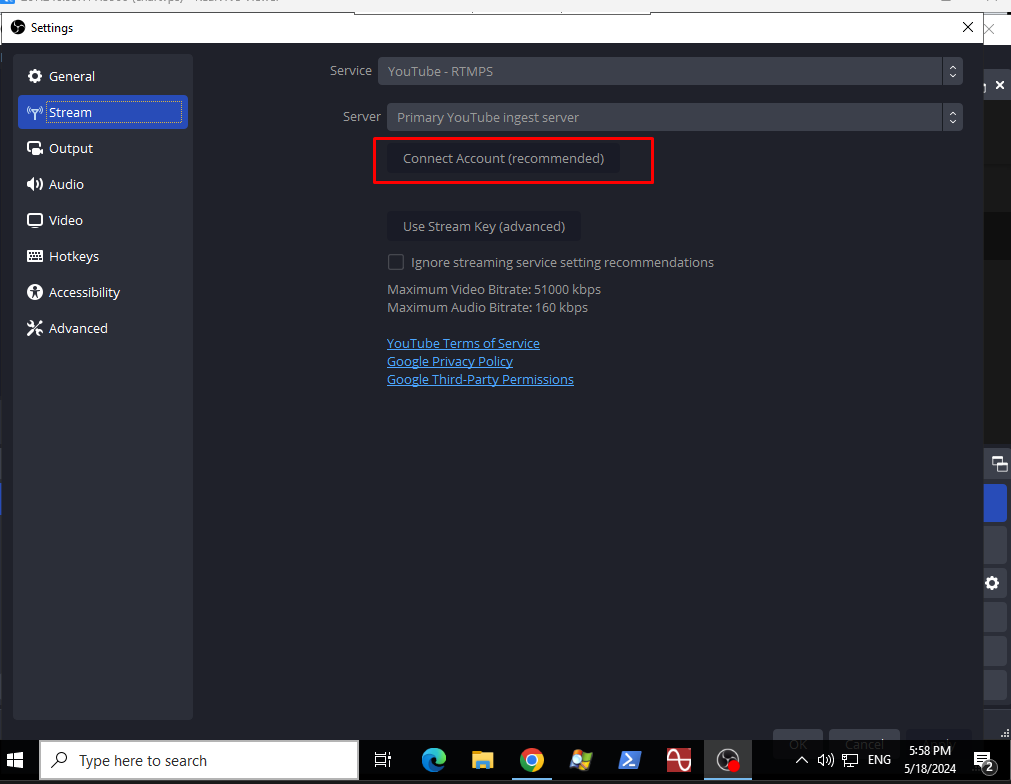
Link OBS to Account: Connect OBS to the account where you’ll broadcast your live stream.
3
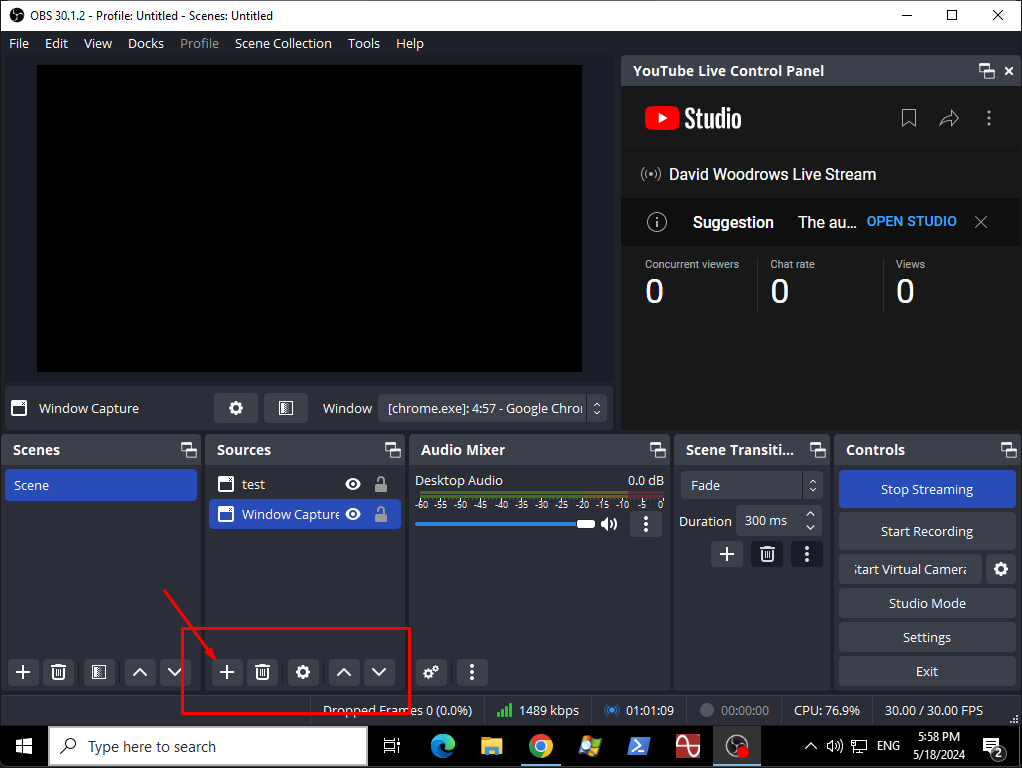
Add Source: In OBS, under the Source section, click the plus icon and select Window Capture.
4
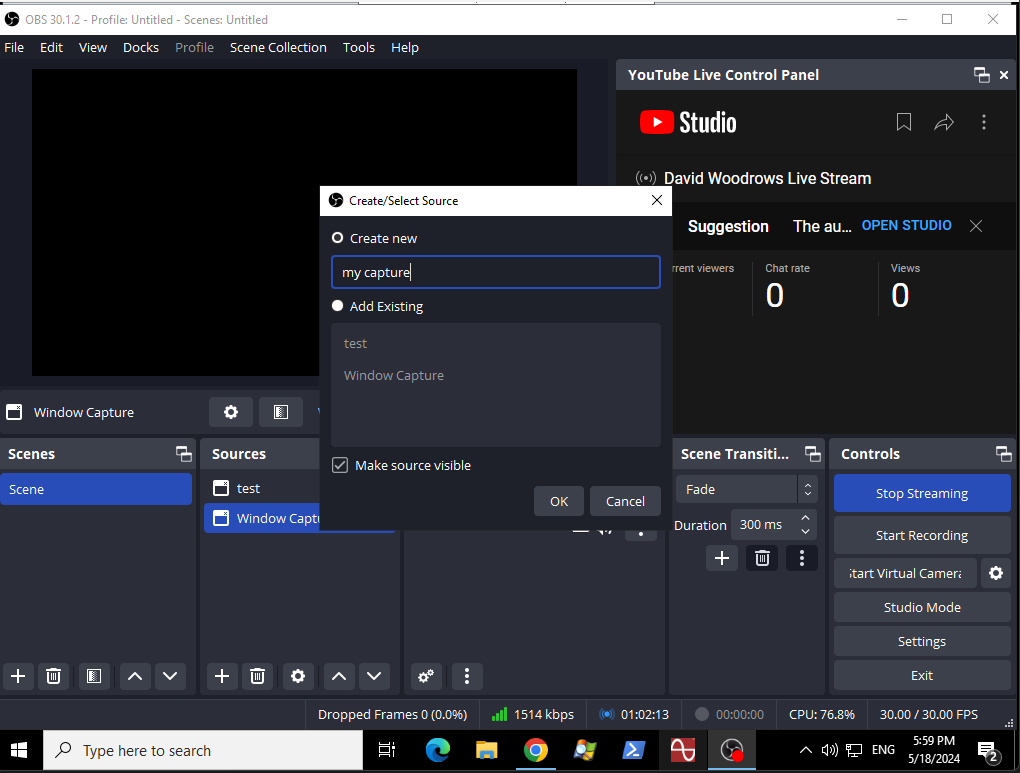
Configure Window Capture: Describe the capture briefly, then click OK.
5
Choose Window: Select the window you want to capture from the dropdown list.
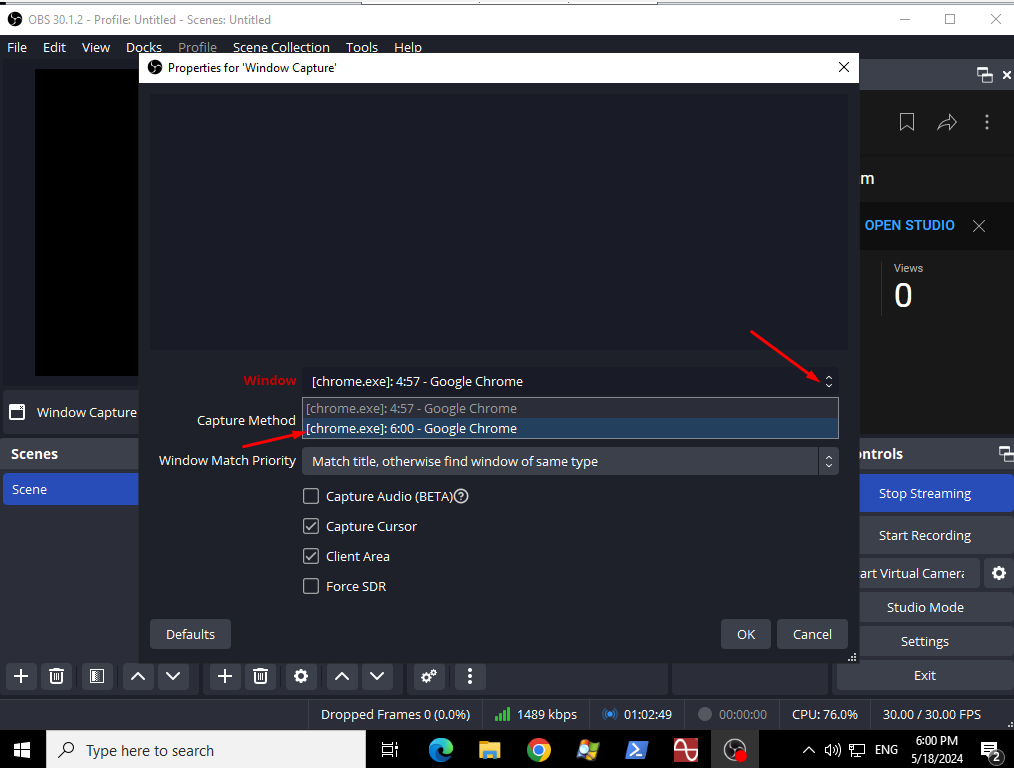
6
Confirm Settings: Keep other settings default and click OK.
7
Check Live Stream: On your local computer’s web browser, ensure the live stream displays correctly.
8
Disconnect RDP: Once confirmed, disconnect from RDP.
9
Connect via TightVNC Reconnect to your server using TightVNC.
10
Start/Stop Stream: In OBS, click Stop Stream if it’s streaming but showing a blank screen. Then click “Start Streaming” to begin the live stream.
11
Verify Stream: Check the web browser on your local computer to ensure the live stream is active.
12
Disconnect TightVNC: Once everything is working, you can disconnect TightVNC.
Important note: If all you need is to use TightVNC AS IS, then it’s 100% free! Yes, TightVNC is freely available under the terms of the GNU GPL license. https://www.tightvnc.com/licensing-tvnserver.php
OBS live stream stops after closing RDP
