Removing RDC history keeps your RDC list clean and organized, making it easier to connect to active and relevant servers without sifting through a cluttered list.
This improves privacy and security by limiting exposure of previously used IP addresses and server names to unauthorized access, especially if multiple users share the same workstation or device.
Removing RDC history through the Windows Registry is one of the methods.
Note
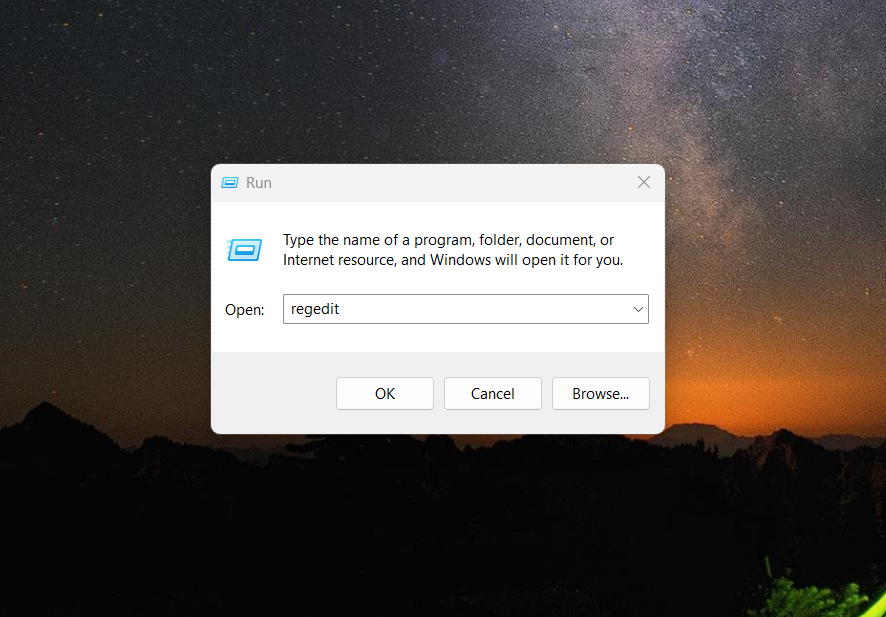
1. Open Registry Editor
- Press
Windows Key + Rto open the Run window. - Type
regeditand press Enter.
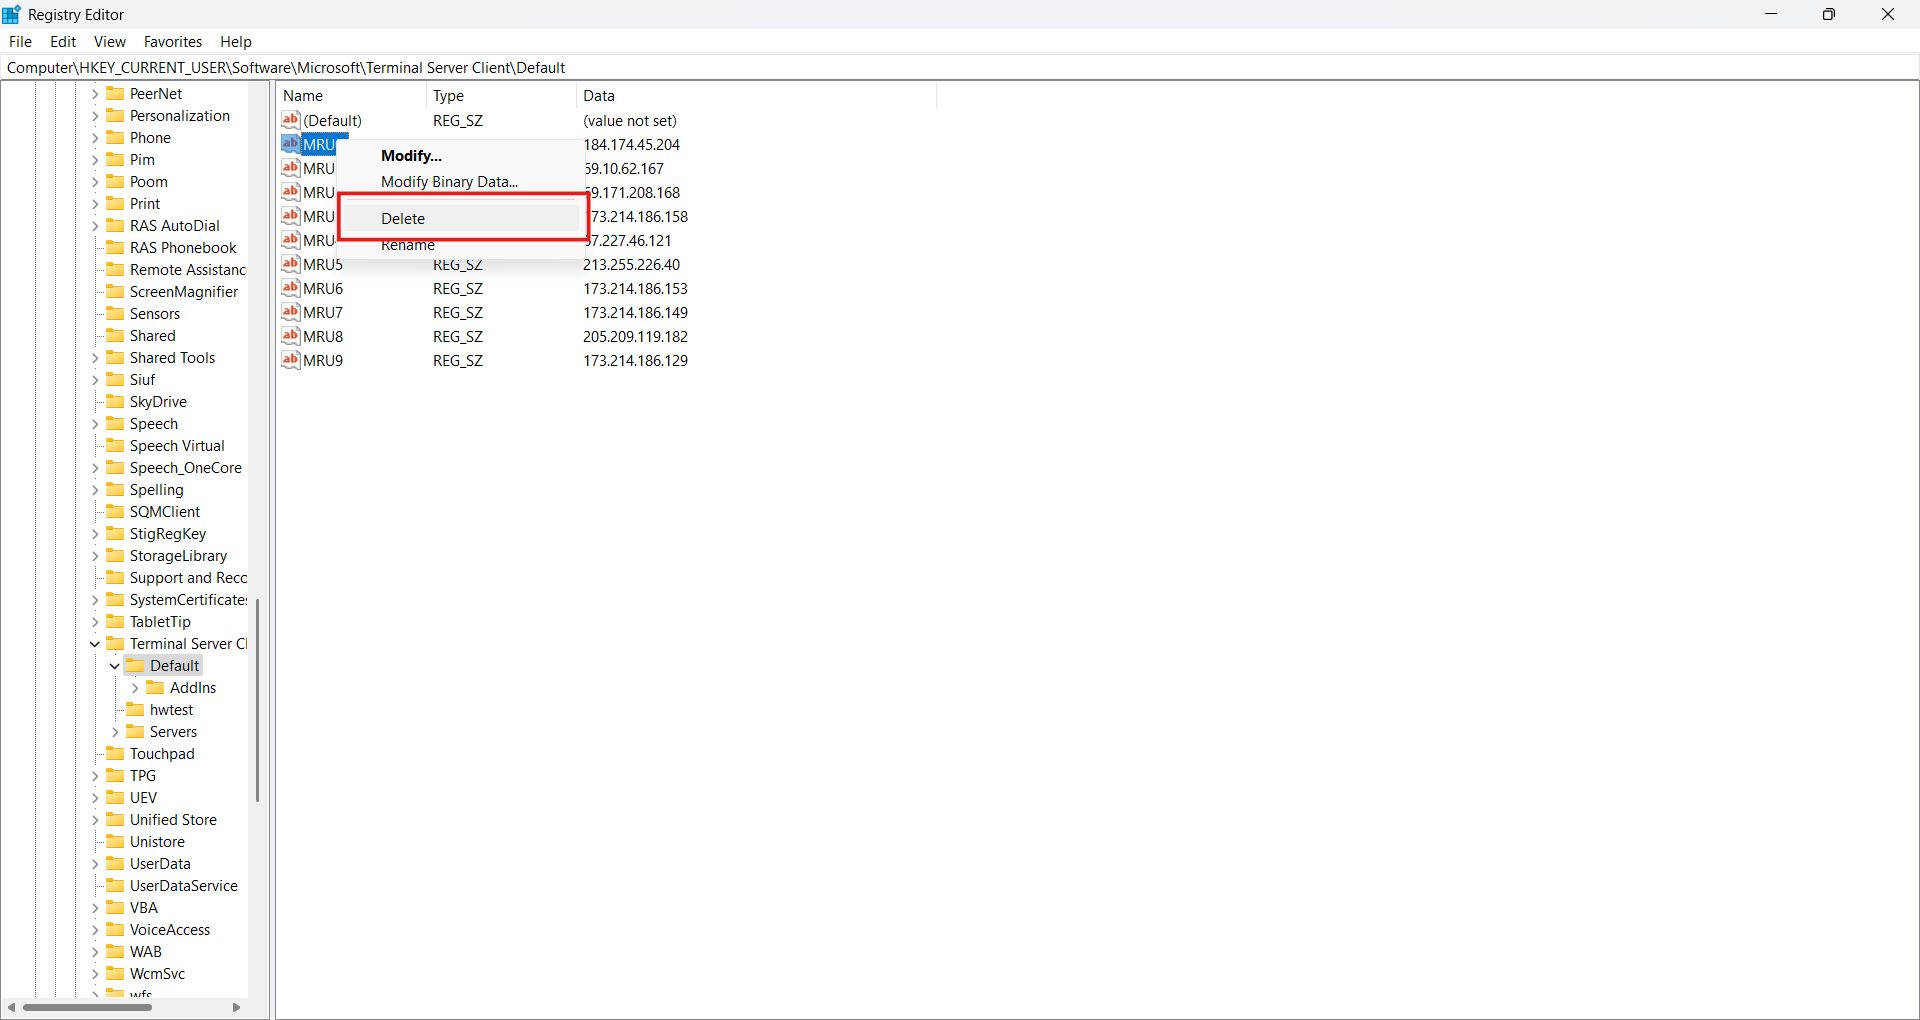
2. Navigate to the following Registry Path:
HKEY_CURRENT_USER\Software\Microsoft\Terminal Server Client\Default- On the right side, you will see several entries like
MRU0,MRU1,MRU2, etc.
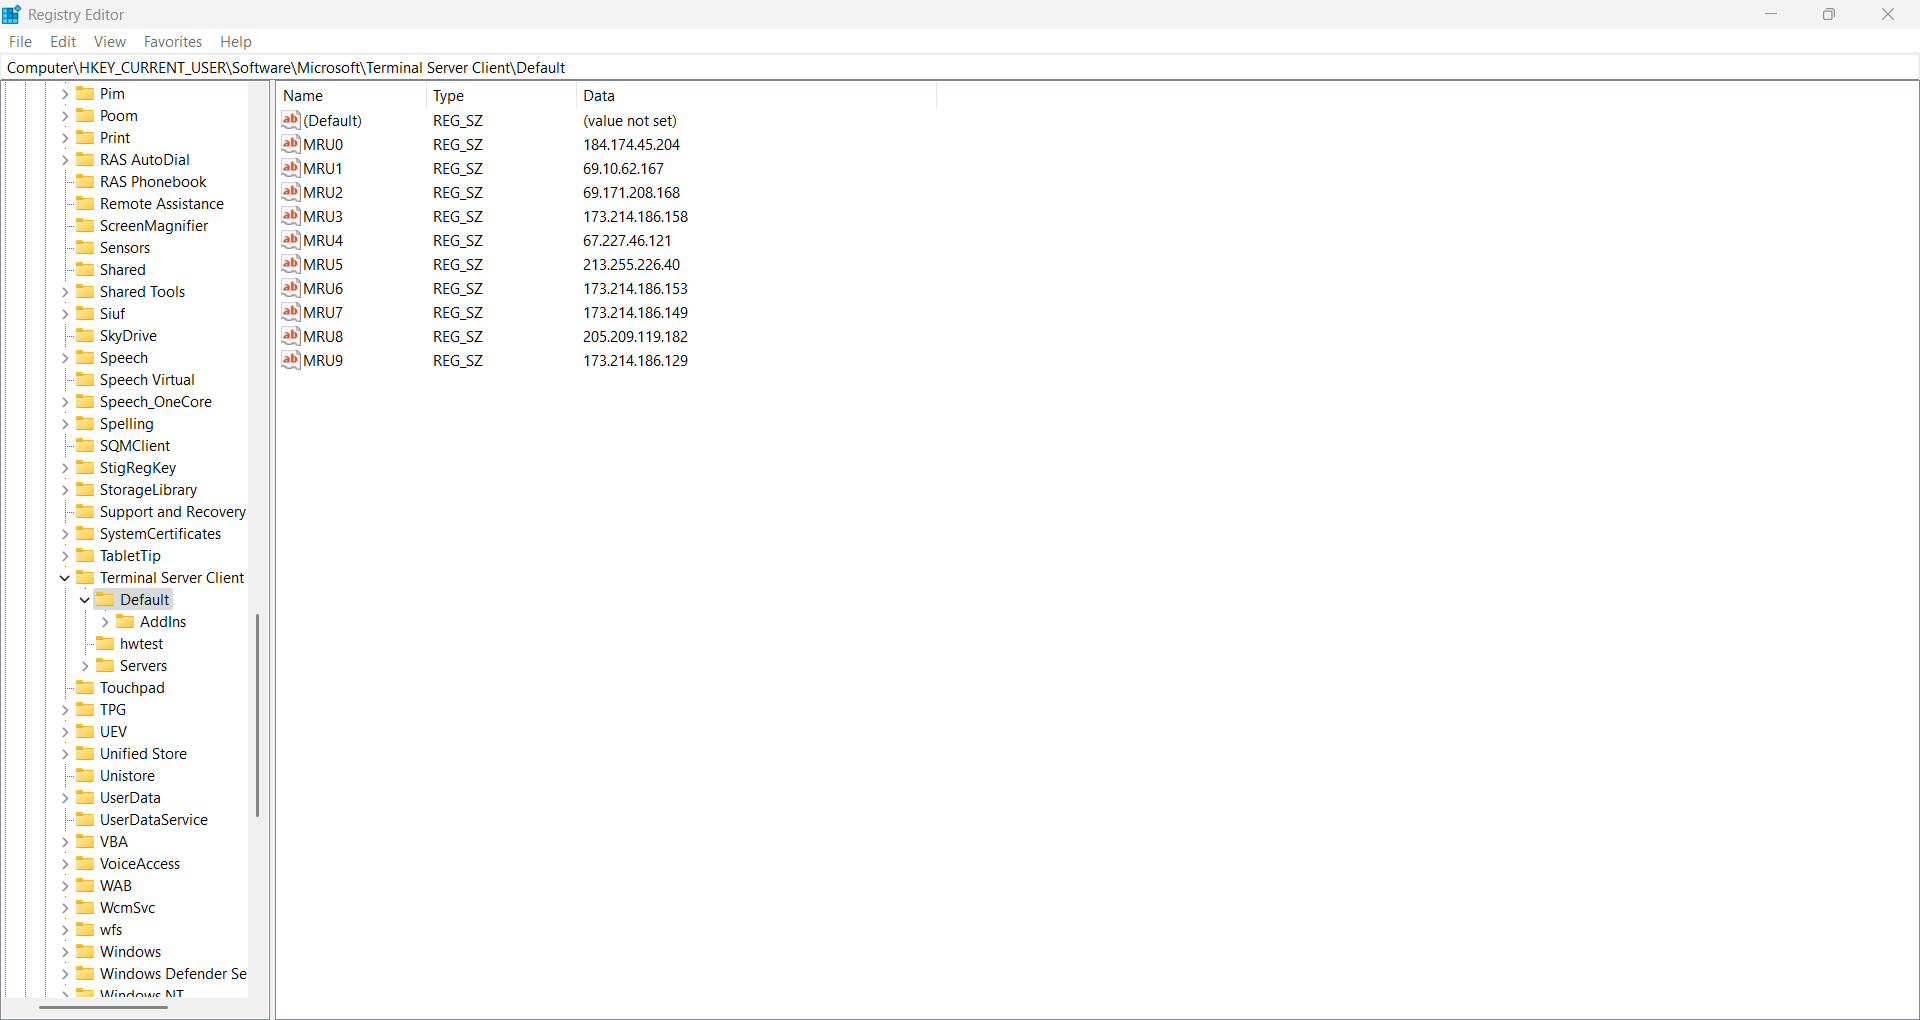
Each MRU entry corresponds to a server address you previously connected to.
Tip
Reminder:
Editing the Windows Registry should be done carefully. Deleting the wrong entries can affect system performance. Always make sure you are only deleting the intended MRU entries. Warning
3. Delete Specific Old Entries:
- Right-click the entry (e.g.,
MRU0) that you want to remove. - Select Delete.
- Confirm the deletion if prompted.
4. Close the Registry Editor
- Once you have deleted the unwanted entries, close the Registry Editor.
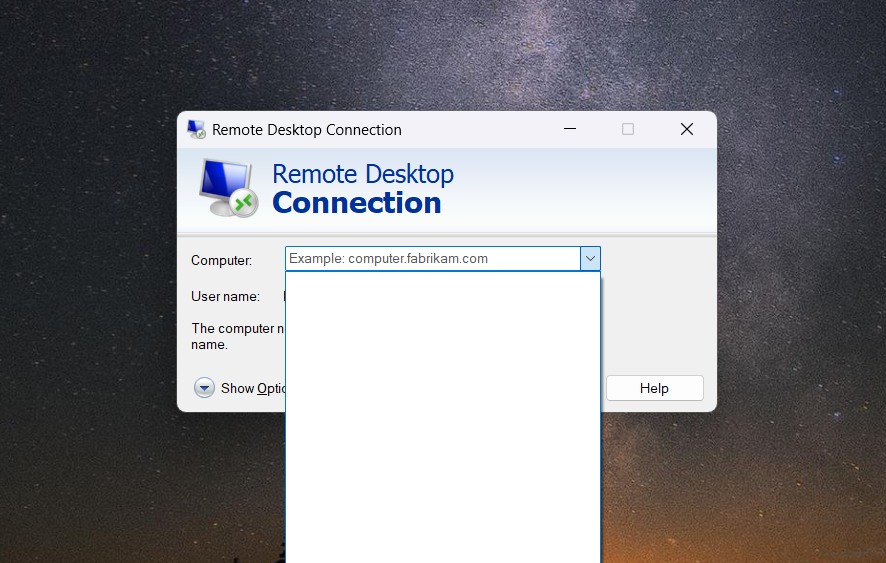
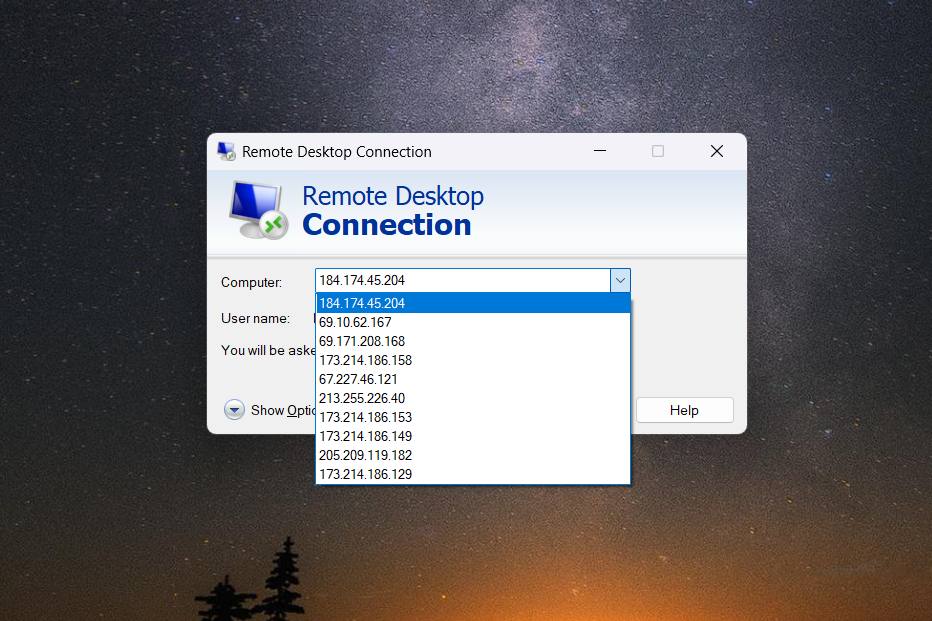
5. Restart Remote Desktop Connection
- Open Remote Desktop Connection again.
- The deleted server addresses should no longer appear in the drop-down list.