


At times, specific ports could be blocked by Windows Firewall on a VPS. This can definitely be frustrating if you don’t want those ports blocked, so this article is here to show you just how you can configure the firewall to allow whichever ports you choose. Here’s how you do that:
1
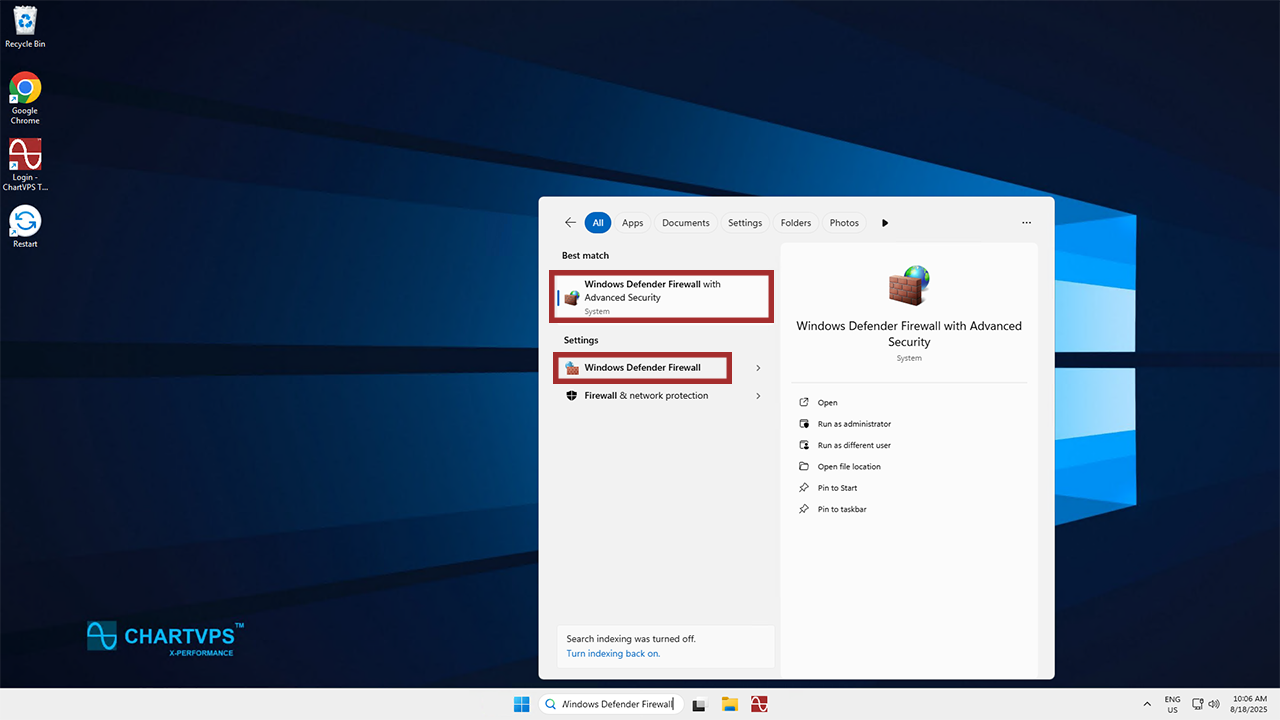
The first step is to open the Windows Defender Firewall. The quickest way to do that is by hitting the Windows key and “S” at the same time, then typing in “Windows Defender Firewall.”
- You can even skip Step 2 if you click on Windows Defender Firewall with Advanced Security.
2
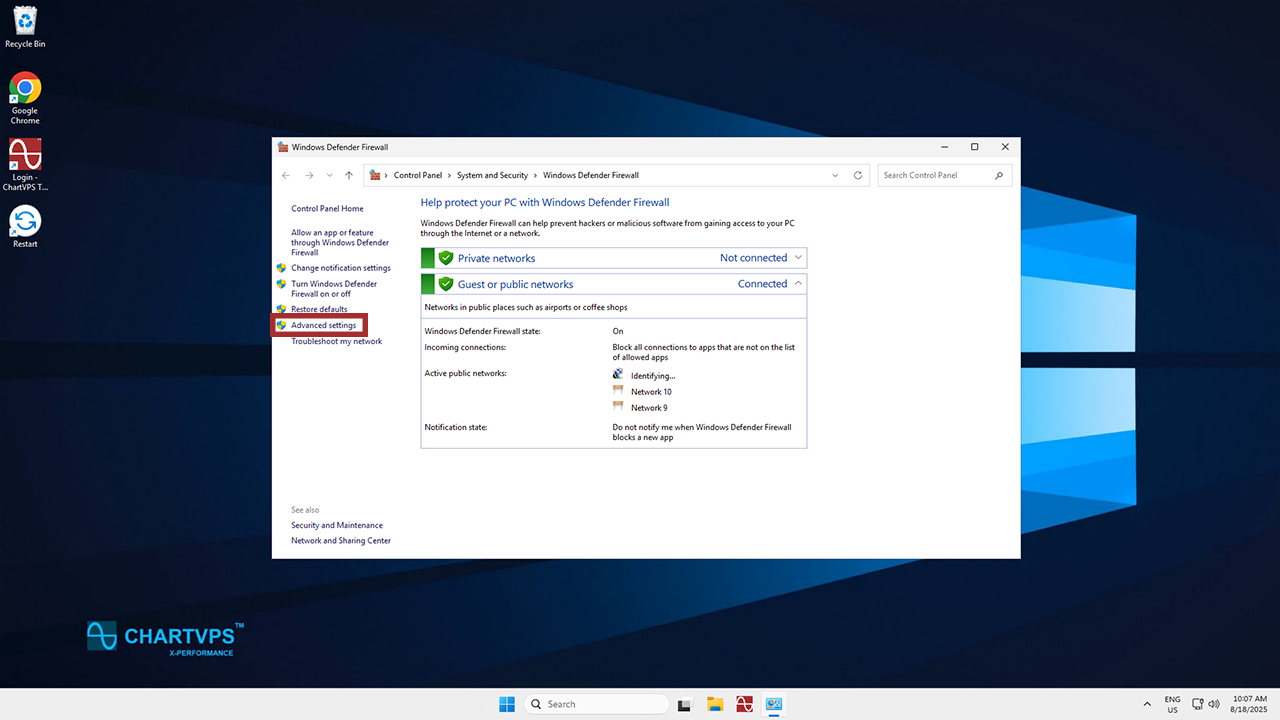
With that open, it’s time to jump into the Advanced Settings. You can find this on the left-hand side of the program.
3
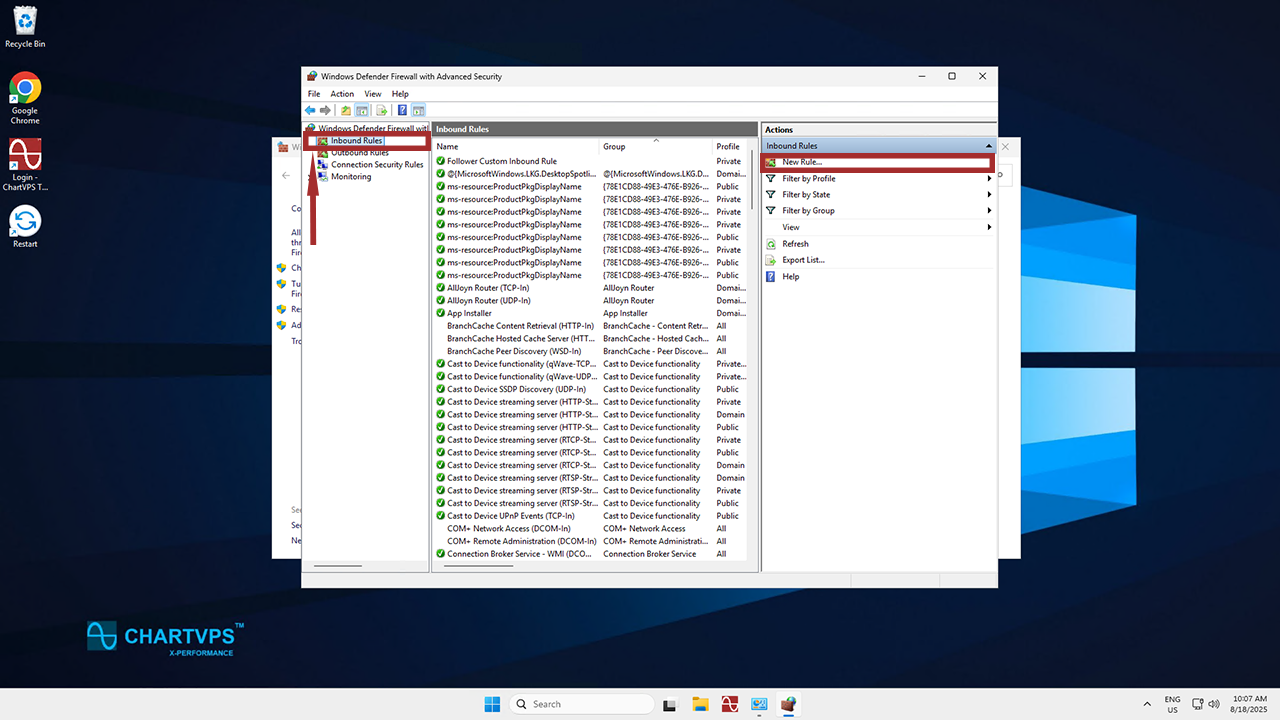
Alright, so Advanced Settings is open. Next, click on Inbound Rules, which is on the left-hand side once again. Then click on New Rule, which is on the right.
4
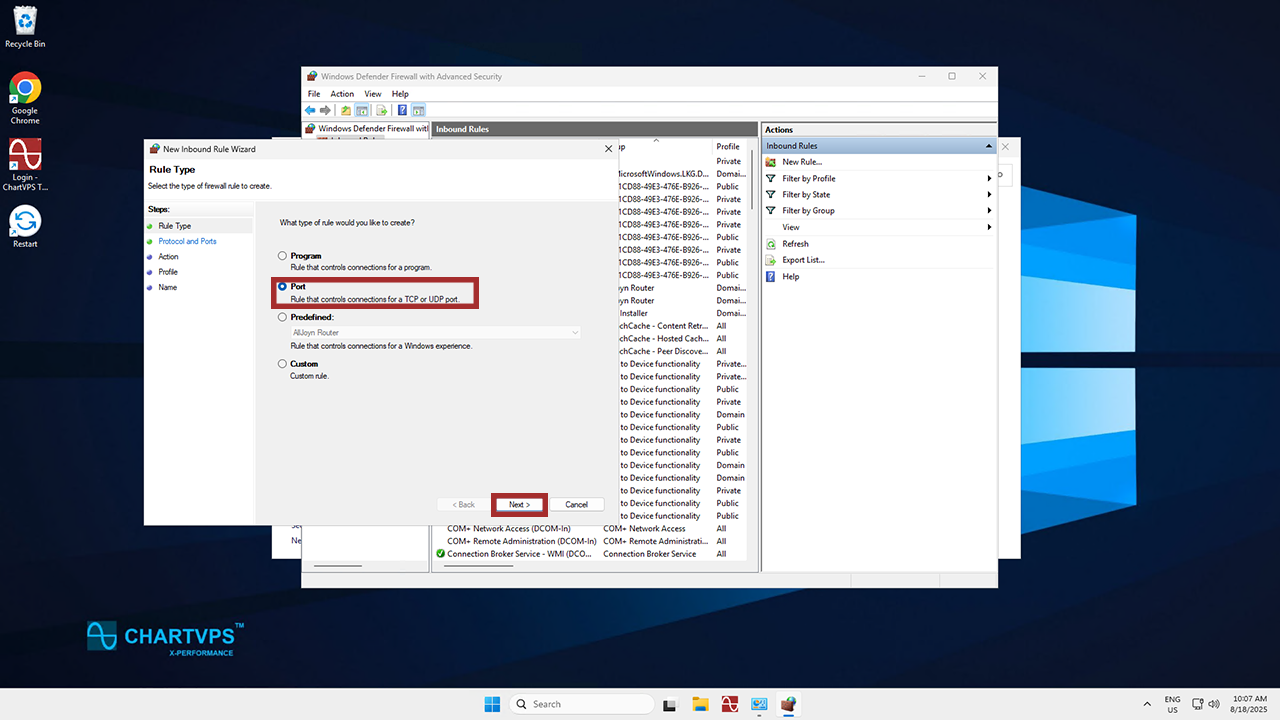
In the Rule Type section, you’ll want to select Port, then click Next.
5
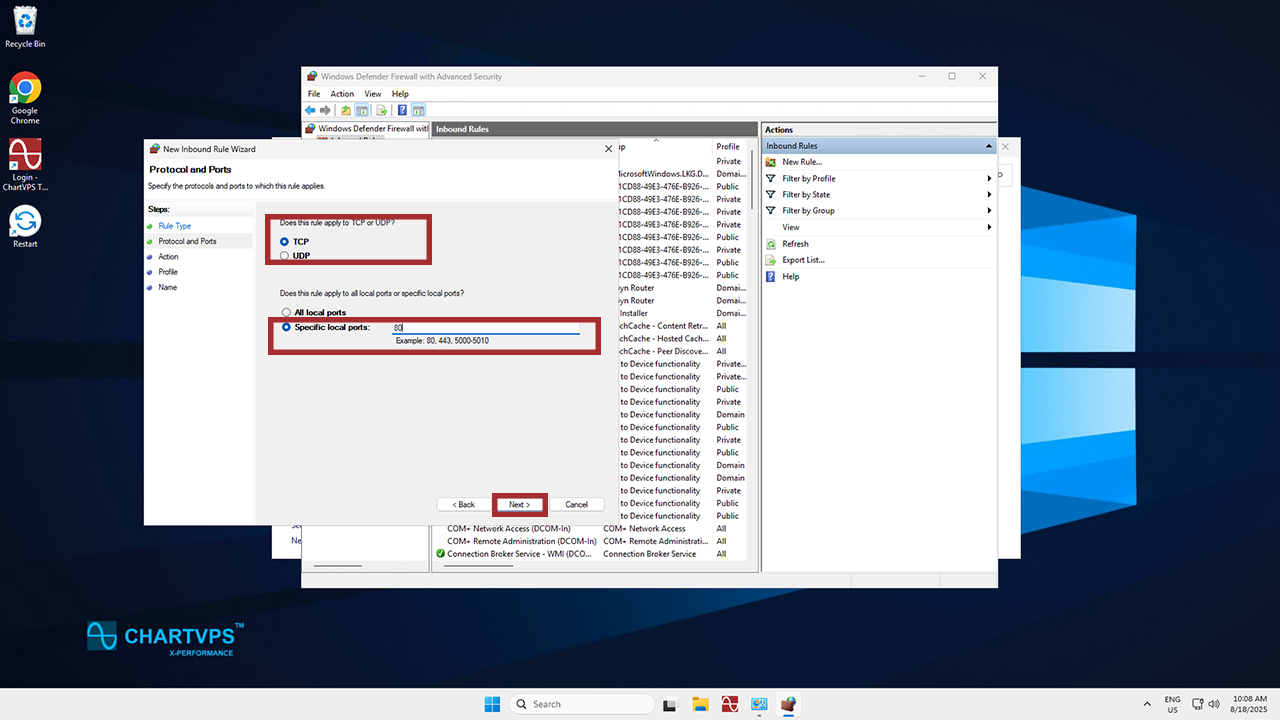
Now we’re on the Protocol and Ports screen. Here, you can pick your Port type (in our example, we’ll use TCP) as well as enter the number of the Port you want to add. In our screenshot, it’s Port 80. We’re using Port 80 to make sure the website or application hosted on a server is accessible to Users. Finally, click Next.
6
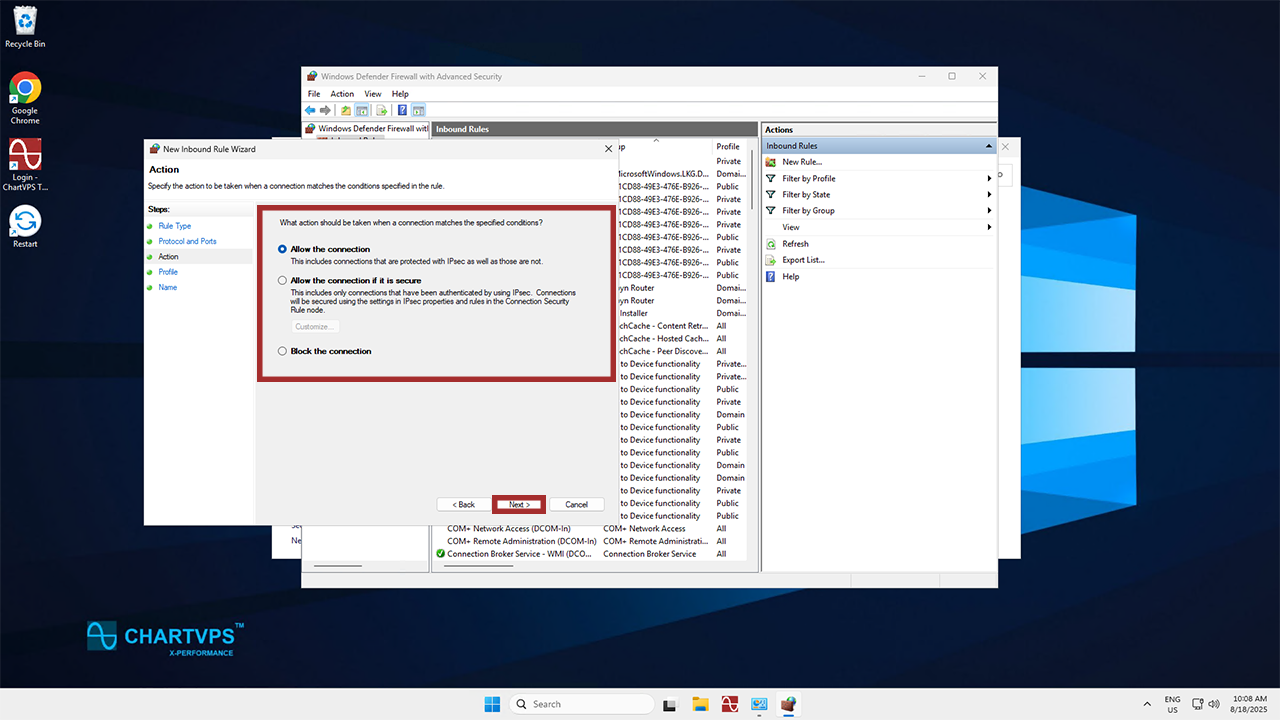
Time for the Action screen! Select Allow the Connection, and once more, hit Next.
7
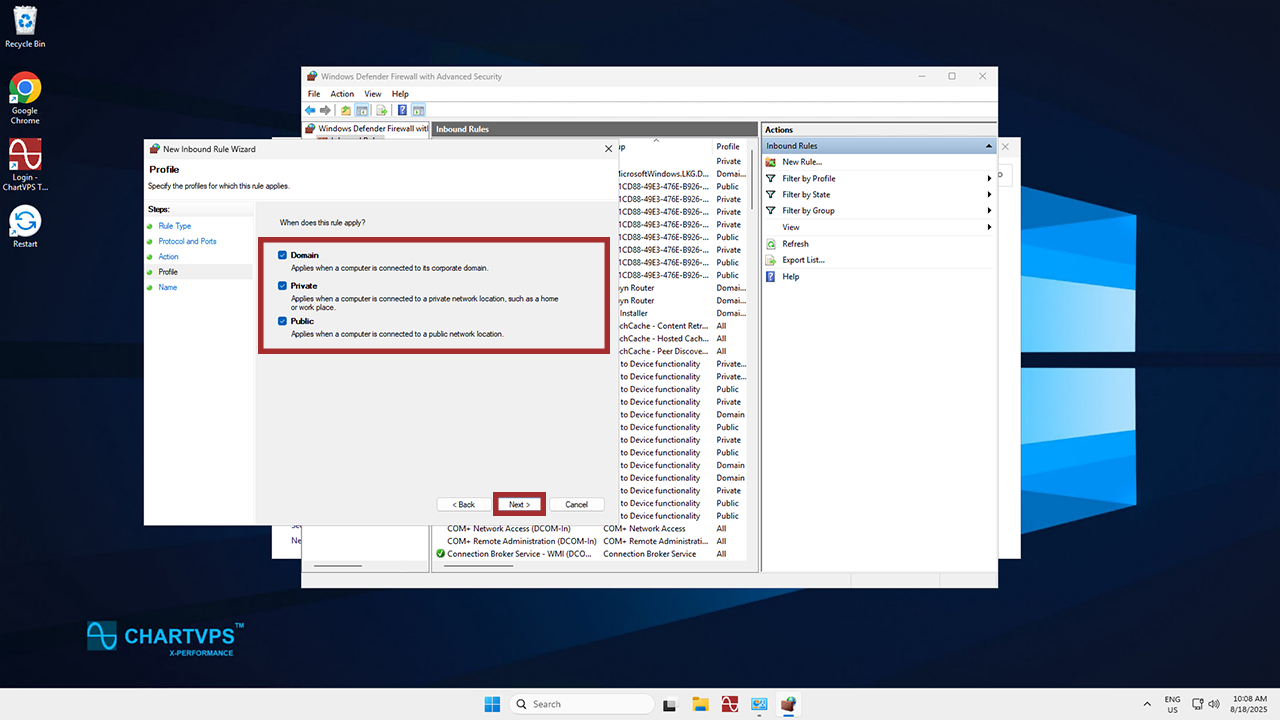
We’ve reached the Profile section. This is where you can specify when the rule should apply. Choose from the selected options, then hit Next once again.
8
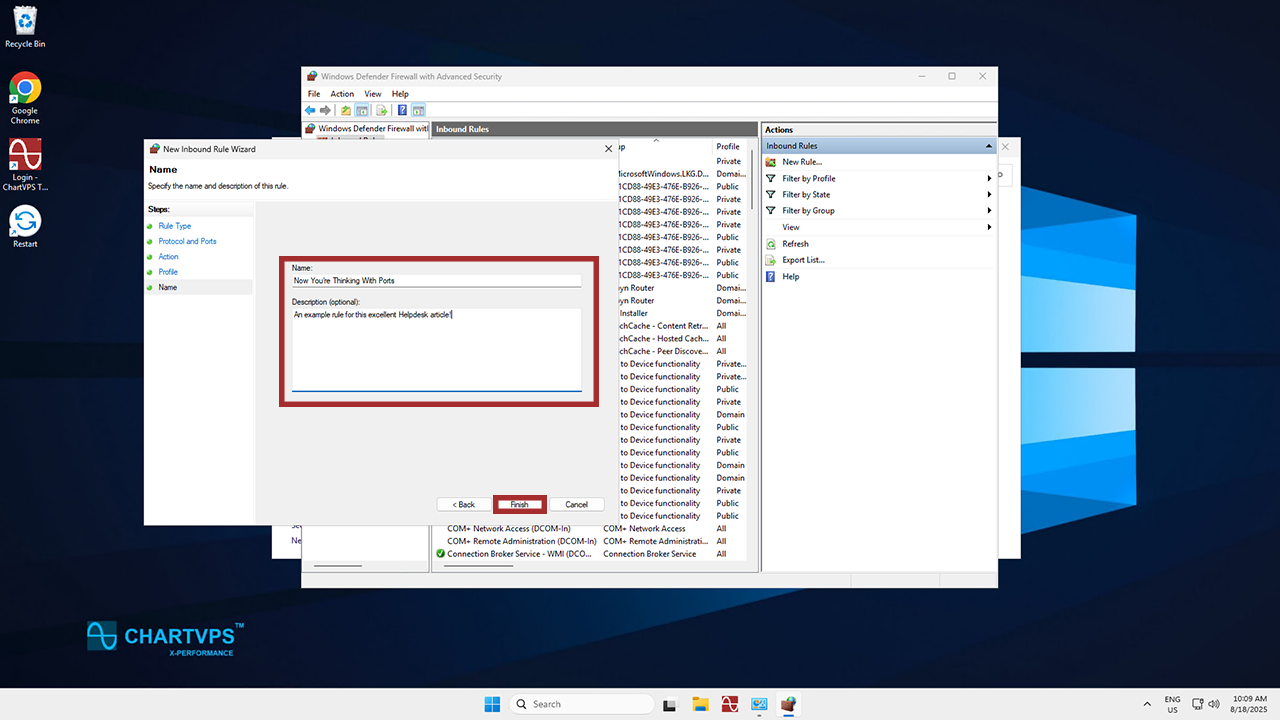
This is where you can get a bit creative. Give the rule a name and a description so you can tell what it does, and close things out by hitting Finish. With that, you’ve allowed your chosen port!
Looking to set up a custom RDP Port for secure remote access? Check out our guide!
