


In this article, we’re going to go through the steps to redirect a web camera and a microphone to a VPS. Be advised that it’s a pretty involved process, as it requires some preparation on your local Windows machine, as well as some configuring of remote desktop settings, and setting up the VPS server side. We’ll be covering all the aspects of this process, from testing your camera and microphone locally to configuring the VPS server. If you’re all set to go, let’s charge ahead!
If you need help with the setup of your web camera and microphone on our VPS, our friendly support team is here to assist. To make the process smoother, you can download and install TeamViewer or AnyDesk – this will let us establish a connection to your computer and take care of the setup on your behalf!
Local Machine Setup:
1
On your own computer, let’s first make sure that your web camera and microphone are plugged in and working as they should.
2
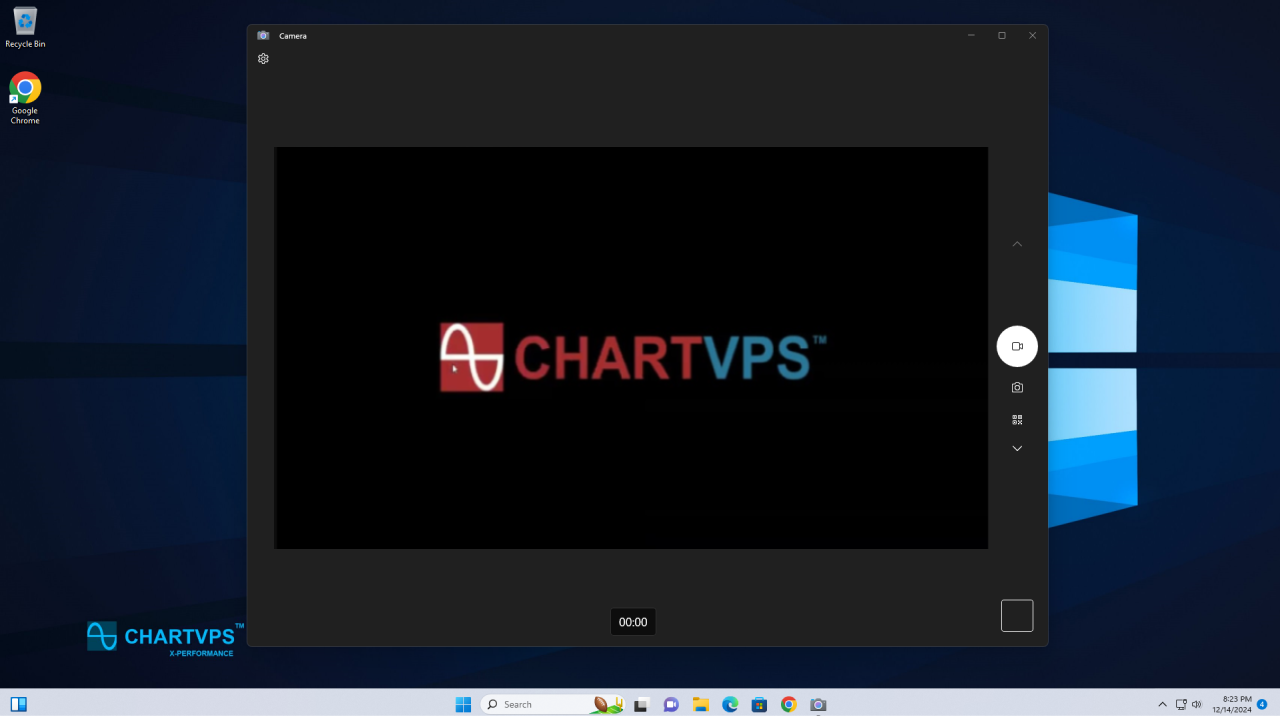
Let’s start with the camera! Just pop open the Camera app to verify that it’s capturing you, or, in our case, our logo.
3
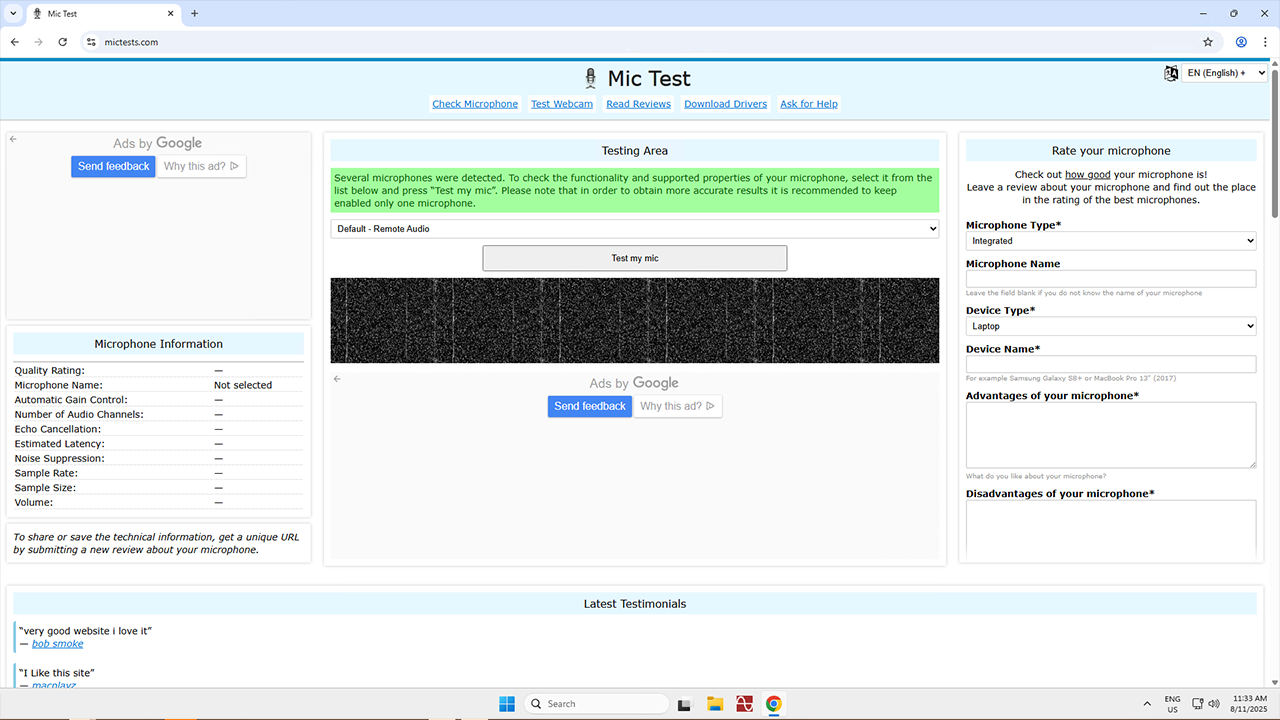
Now for the microphone! Make sure it’s working by visiting https://mictests.com/ in your web browser. Click Test My Mic and jabber away, then listen to the playback to make sure it’s all good.
4
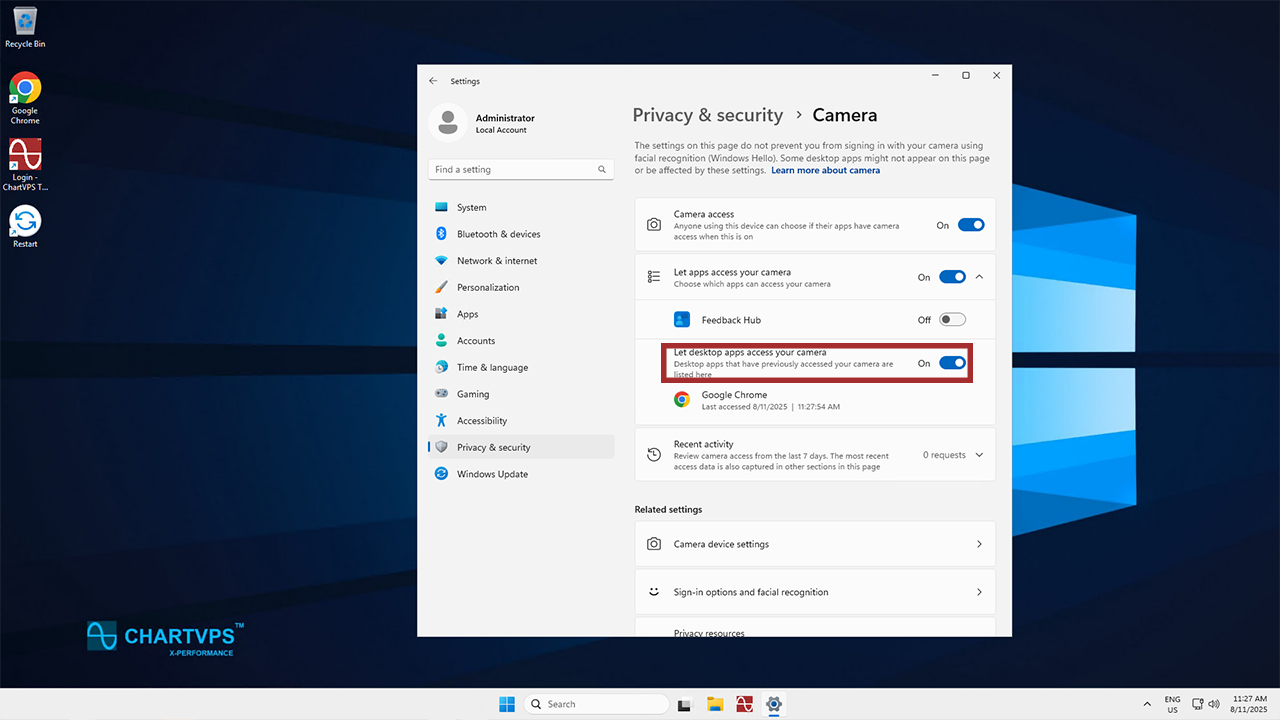
After that, you’ll have to dive into your Camera Privacy Settings. The easiest way to find this is by hitting the Windows key and S, then typing in “Camera Privacy Settings.”
5
Find the section marked as Let desktop apps access your camera and tick it so it’s on. You might see apps that have previously used the camera in a list below it.
6
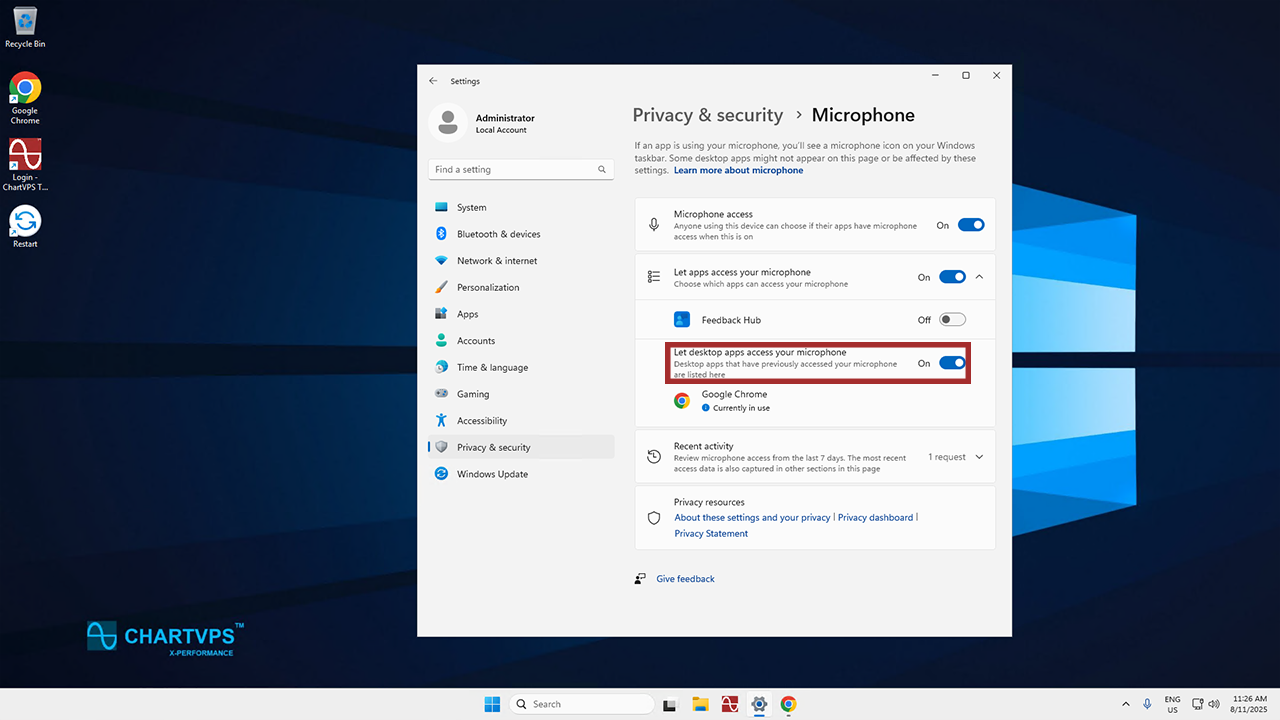
You’ll have to do something similar for your Microphone Privacy Settings. Find those, then turn on the Let desktop apps access your microphone setting.
7
If you’re using something other than a Windows PC, you’ll likely need to redirect your microphone and camera to the VPS. Here are some of the ways to do so:
- Mac: Select the Devices option in the Windows App. Hit the pencil icon on the device of your choosing, then check the box for Use customized settings. Then navigate to the Devices & Audio tab, where you’ll want to check the box next to each device you plan on using in the remote session. Finally, hit Save.
- iOS: Open up the Windows App, then tap on the cog to open the Settings. Hit App Permissions,and toggle the Microphone and Camera to On.
- Android: Go ahead and open up the Windows App. From there, tap and hold your finger on your VPS window, then select Edit. Head on down to Device & audio redirection. Here’s where you can toggle devices like your microphone and camera on or off. When you’re done, tap Save.
Remote Desktop Configuration:
1
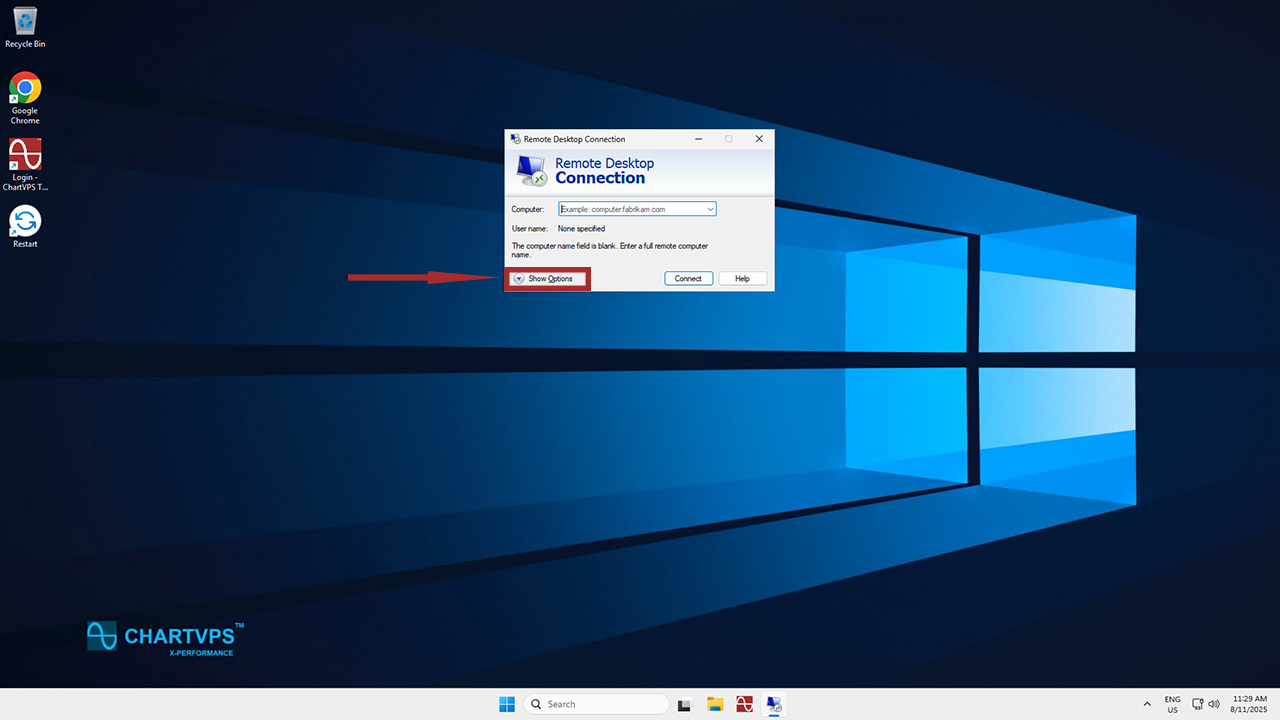
Alrighty, now it’s time to get onto your server! On your local computer, launch the Remote Desktop Connection application.
With future versions of Windows, it’s likely that Microsoft will use the Windows App for remote connections, as they already do on other operating systems. For now, though, we’ll be using Remote Desktop Connection.
2
Click on Show Options. You’ll now be able to see some additional settings. Simply head on over to the Local Resources tab.
3
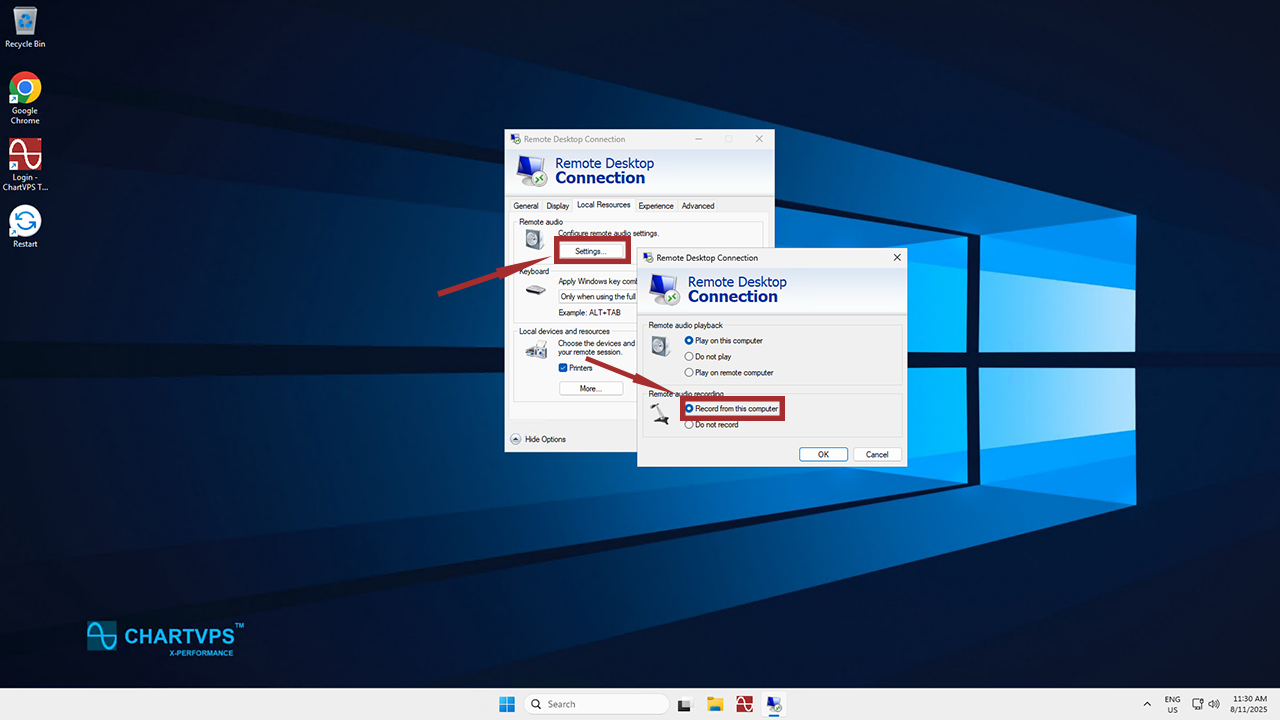
This time, we’ll start with the microphone! Check out the Remote Audio section – just hit the Settings button located there.
4
In the Settings menu, select Record from this computer under the Remote audio recording subsection. Then, hit OK to head back to the Local Resources tab.
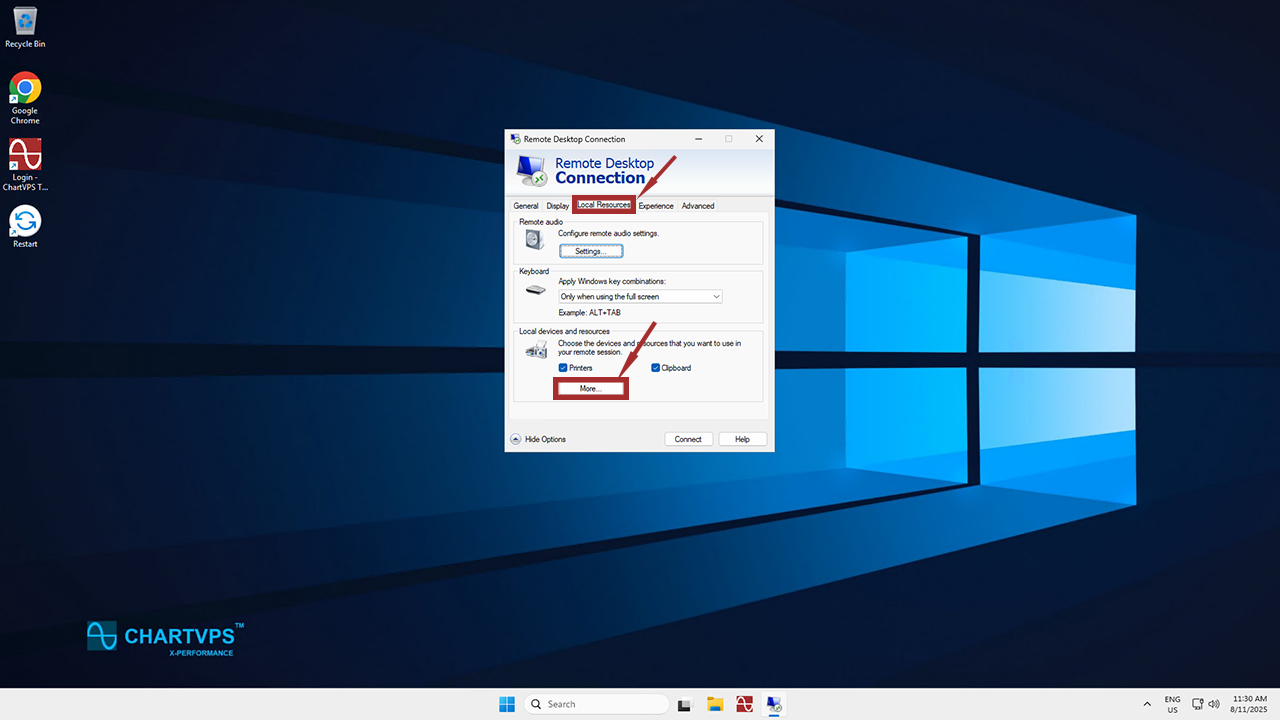
5
Direct your eyes to the Local devices and resources section, and click on More.
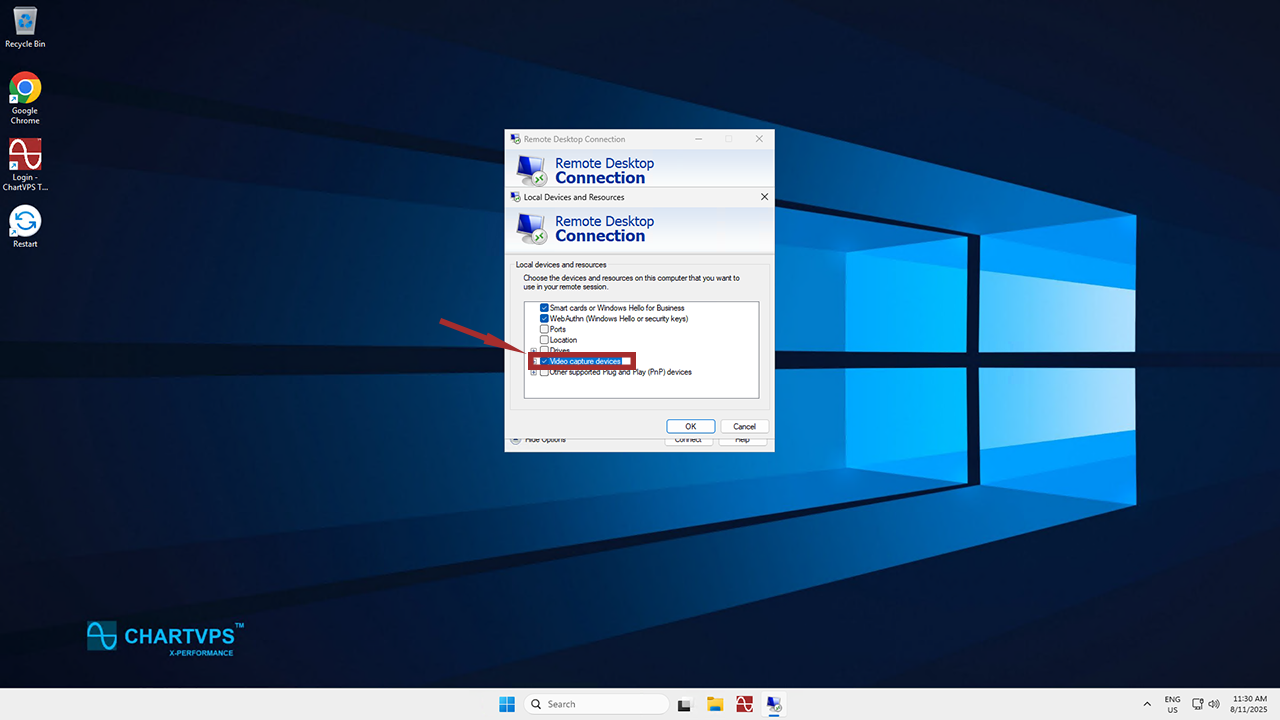
6
Find and check the box labelled Video capture devices, then confirm by clicking OK.
7
It’s finally time to connect to your server! Make sure your credentials are all filled out (or go to the the ChartVPS Portal to grab your info), then click Connect.
Server Side Configuration:
1
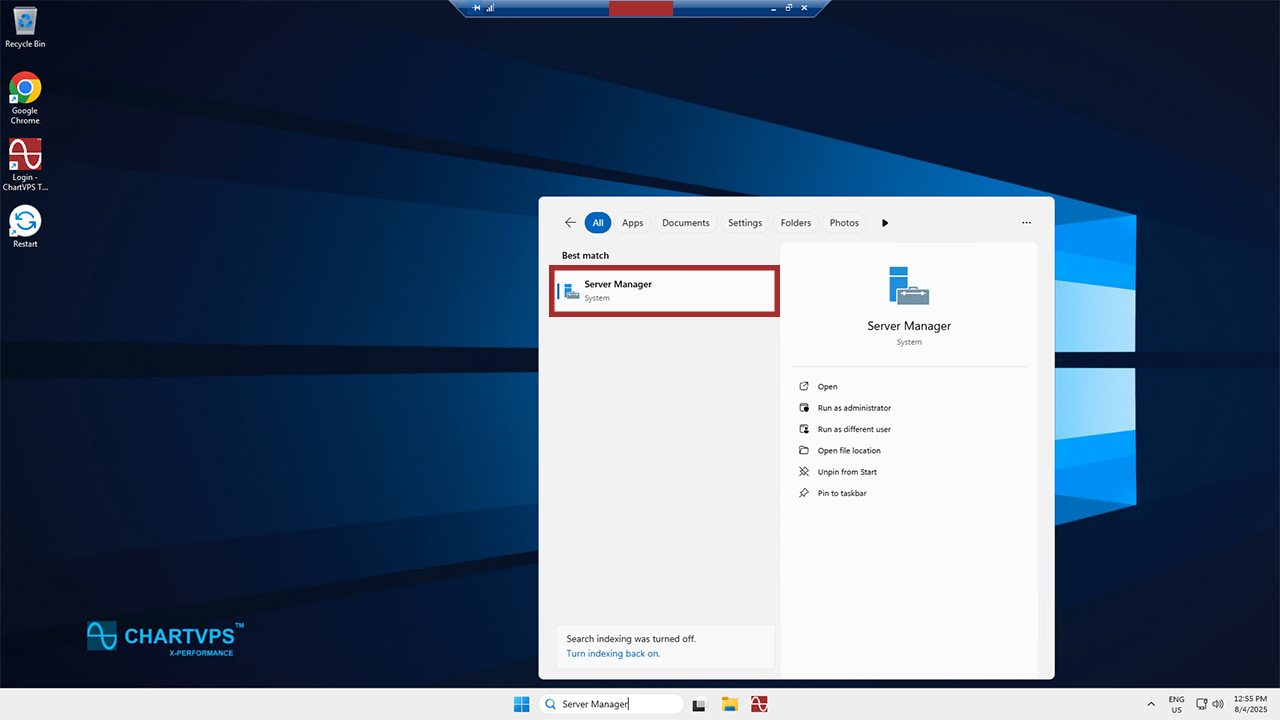
Take a deep breath – we’re about 2/3rds of the way there! Now that we’re on your server, search for Server Manager in the Start menu.
2
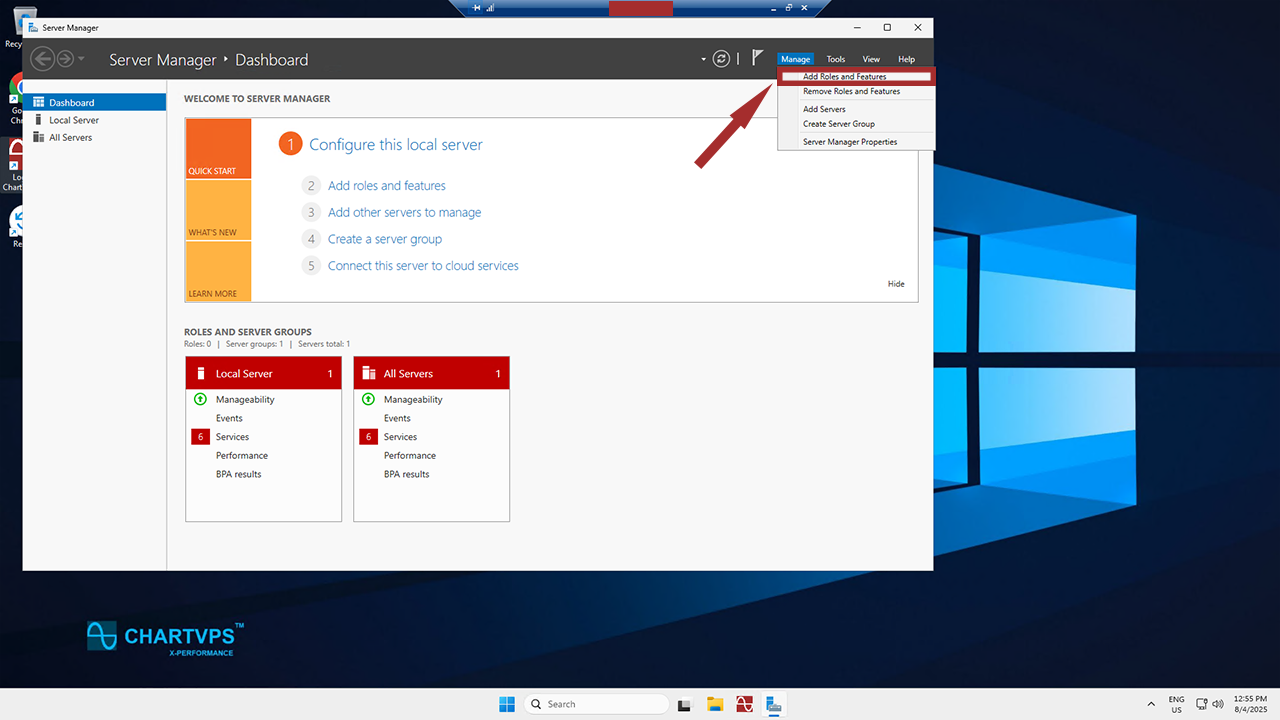
Once you’re in the Server Manager Dashboard, click on Manage, which you’ll find nestled in the upper-right corner. From the Manage menu, hit Add Roles and Features.
3
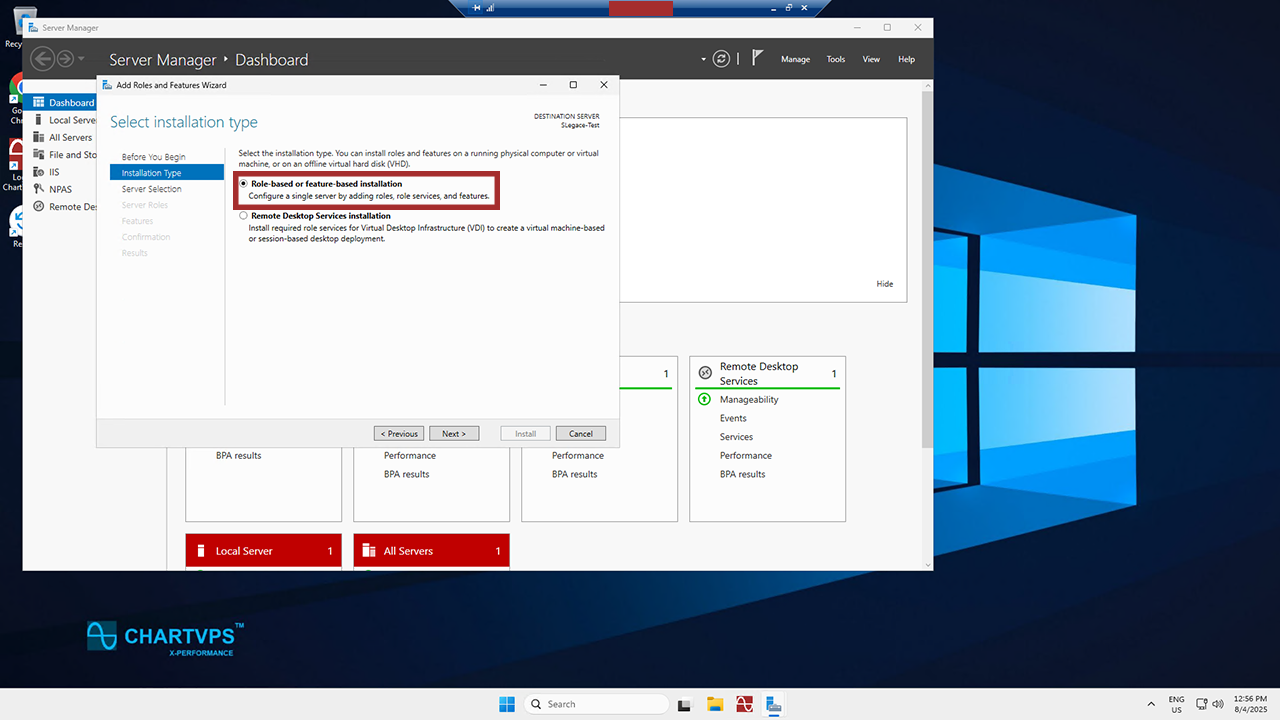
Click Next. Now it’s time to pick your installation type! Go ahead and click on Role-based or feature-based installation, then hit Next.
4
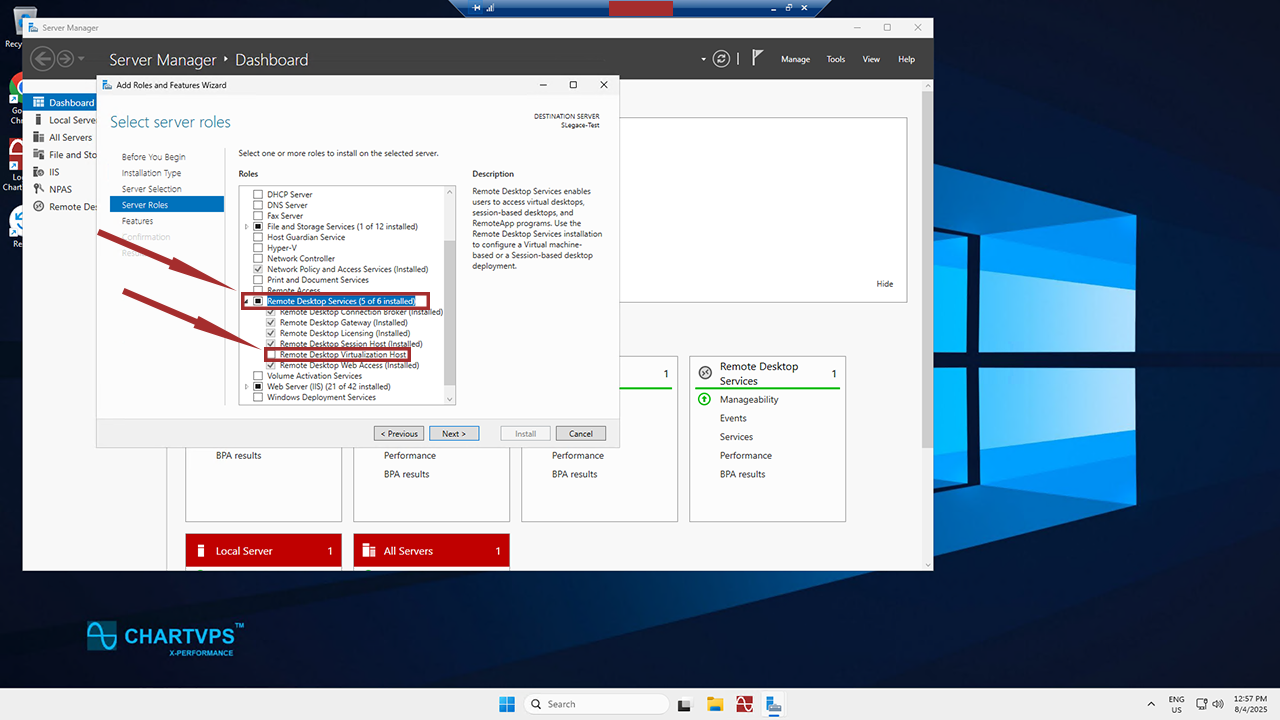
Hit Next twice more. From there, expand Remote Desktop Services under Server Roles. You’ll want to ensure all of the boxes under Remote Desktop Services are checked except for Remote Desktop Virtualization Host.
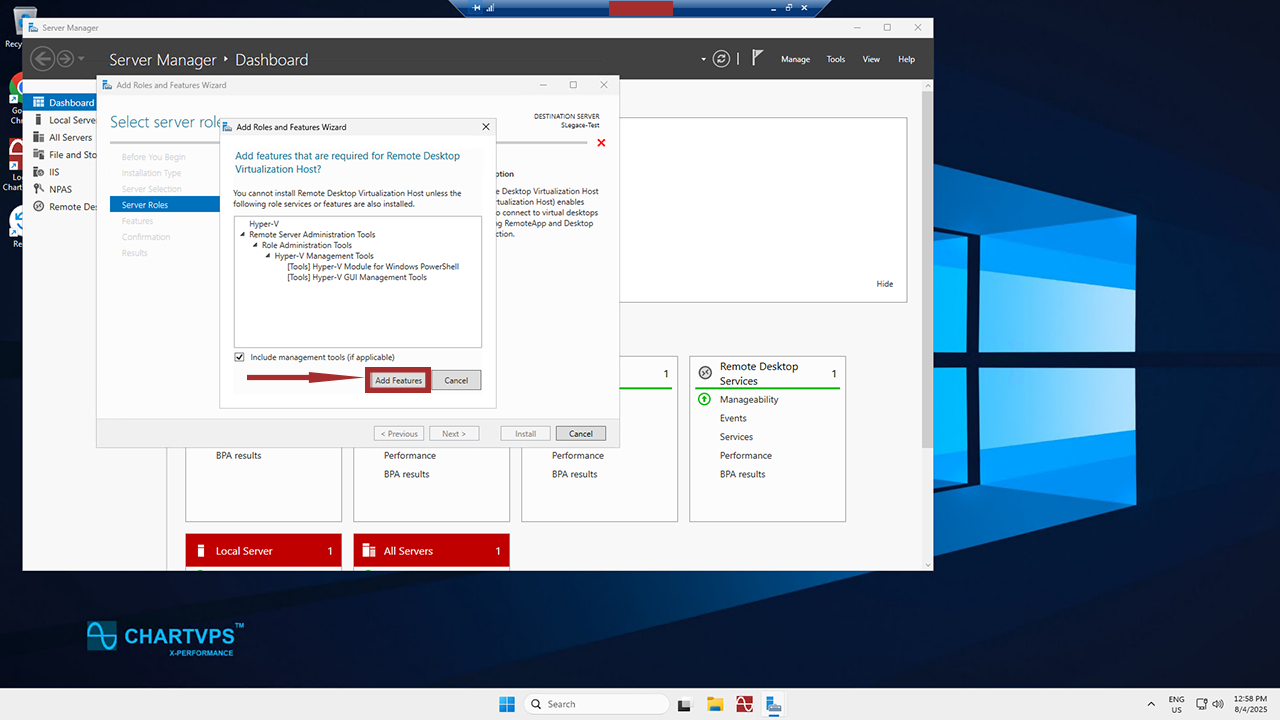
5
Whenever you check a box, the Add Roles and Features Wizard will appear. All you’ve got to do is click Add Features to continue.
6
Once you’ve done all that, just click Next until you’re in the Confirmation section. Then, hit that Install button.
7
When the installation’s done, give the server a quick reboot.
8
To close things out, give your camera a try by opening the Bluetooth and Devices settings while on your server, then go to the Cameras section. Click on your camera – if you can see yourself smiling back, you’re good to go!


